TimescaleDB is one extension of PostgreSQL that uses time series under a SQL DB.
Today we will explain how to install Zabbix 5.0 using TimeScaleDB extension that is very eficeient in terms of History Syncer e housekeeper.
Start by download the package that will provide us the repositories to install zabbix from apt.
sudo wget https://repo.zabbix.com/zabbix/5.0/debian/pool/main/z/zabbix-release/zabbix-release_5.0-1%2Bbuster_all.debNext install the package to configure the repository.
sudo dpkg -i zabbix-release_5.0-1%2Bbuster_all.debAnd the update cache.
sudo apt updateInstall TimeScaleDB
Note: TimescaleDB requires PostgreSQL 11, 12 or 13.
If you don’t already have PostgreSQL installed, add PostgreSQL’s third party repository to get the latest PostgreSQL packages:
# `lsb_release -c -s` should return the correct codename of your OS
echo "deb http://apt.postgresql.org/pub/repos/apt/ $(lsb_release -c -s)-pgdg main" | sudo tee /etc/apt/sources.list.d/pgdg.list
wget --quiet -O - https://www.postgresql.org/media/keys/ACCC4CF8.asc | sudo apt-key add -
sudo apt-get update
Add TimescaleDB’s third party repository and install TimescaleDB, which will download any dependencies it needs from the PostgreSQL repo:
# Add repository
sudo sh -c "echo 'deb https://packagecloud.io/timescale/timescaledb/debian/ `lsb_release -c -s` main' > /etc/apt/sources.list.d/timescaledb.list"
wget --quiet -O - https://packagecloud.io/timescale/timescaledb/gpgkey | sudo apt-key add -
sudo apt-get update

# Now install appropriate package for PG version
sudo apt-get install timescaledb-2-postgresql-13
Configure your database
There are a variety of settings that can be configured for your new database. At a minimum, you will need to update your postgresql.conf file to include our library in the parameter shared_preload_libraries. The easiest way to get started is to run timescaledb-tune, which is installed by default when using apt:
sudo timescaledb-tuneThis will ensure that our extension is properly added to the parameter shared_preload_libraries as well as offer suggestions for tuning memory, parallelism, and other settings.
To get started you’ll now need to restart PostgreSQL:
# Restart PostgreSQL instance
sudo service postgresql restart
Now create a user “zabbix” and a database “zabbix” in postgresql to access the database.
sudo -u postgres createuser --pwprompt zabbix
sudo -u postgres createdb -O zabbix zabbix
Now that we have the database backend ready lets install the zabbix packages.
sudo apt install zabbix-frontend-php php7.3-pgsql zabbix-apache-conf zabbix-agentThe next step is to import the initial zabbix database schema to the database that we create above.
sudo zcat /usr/share/doc/zabbix-server-pgsql*/create.sql.gz | sudo -u zabbix psql zabbixNext lets tune the database TimescaleDB:
sudo timescaledb-tune --pg-config=/usr/lib/postgresql/13/bin/pg_config --quiet --yesAnd restart the PostgreSQL service
sudo systemctl restart postgresqlLets apply the TimescaleDB extension in the database.
echo "CREATE EXTENSION IF NOT EXISTS timescaledb CASCADE;" | sudo -u postgres psql zabbix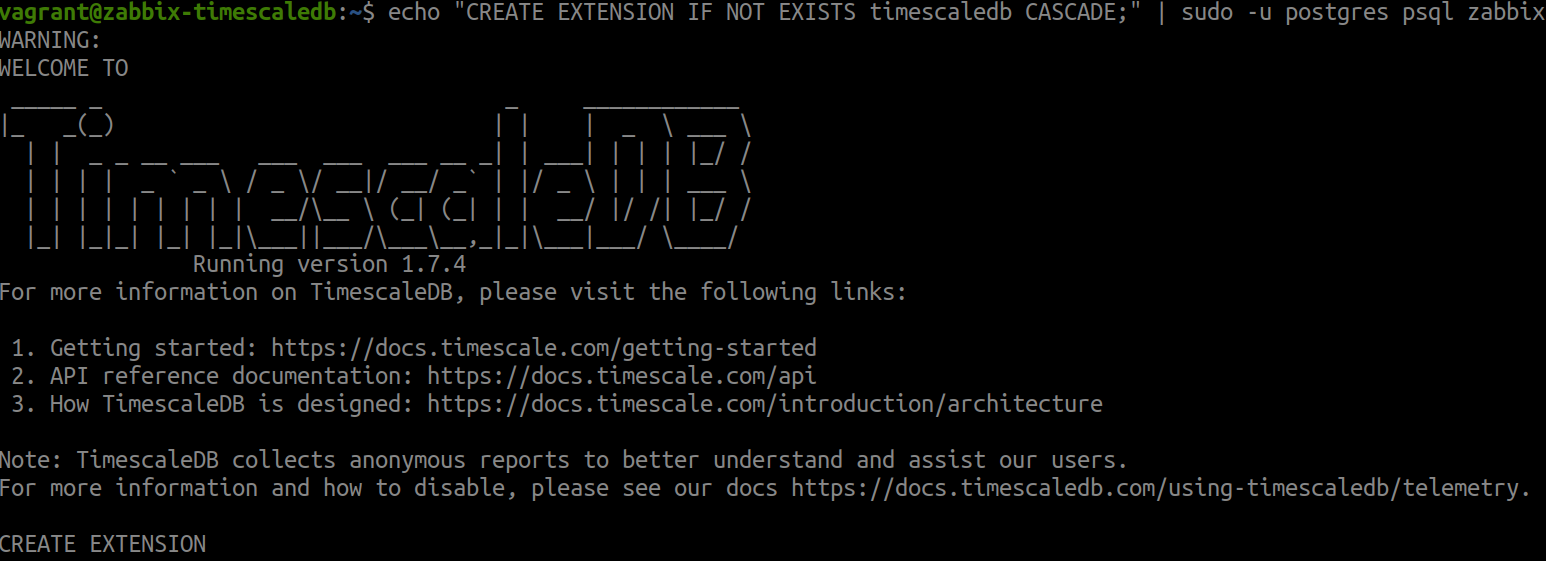
Now, run the script timescaledb.sql on zabbix database.
sudo cat /usr/share/doc/zabbix-server-pgsql*/timescaledb.sql | sudo -u zabbix psql zabbixWith this part almost done, we now need to prepare zabbix server to connect the database.
For this, Inside /etc/zabbix/zabbix_server.conf, uncoment the word DBPassword and set the password that we have set before.
sudo vim /etc/zabbix/zabbix_server.conf
DBPassword= Pass_that_we_define_for_user_zabbix
Open /etc/zabbix/apache.conf, change php_value date.timezone and set the one for your zone.
sed -i “s/^ # php_value date.timezone .*/ php_value date.timezone Europe\/Lisbon/” /etc/zabbix/apache.conf
Raize the db connections limit to avoid some problems:
vi /etc/postgresql/13/main/postgresql.conf Find the tag max_connections=20 and change it. we have set 100.
max_connections = 100 # (change requires restart)Restart the services PostgreSQL, Zabbix, agent e apache2, and enable them for autostart in the next reboot.
sudo systemctl restart postgresql.service
sudo systemctl restart zabbix-server zabbix-agent apache2
sudo systemctl enable zabbix-server zabbix-agent apache2
Now access to the address http://IP_DO_SERVIDOR/zabbix and follow the wizard.
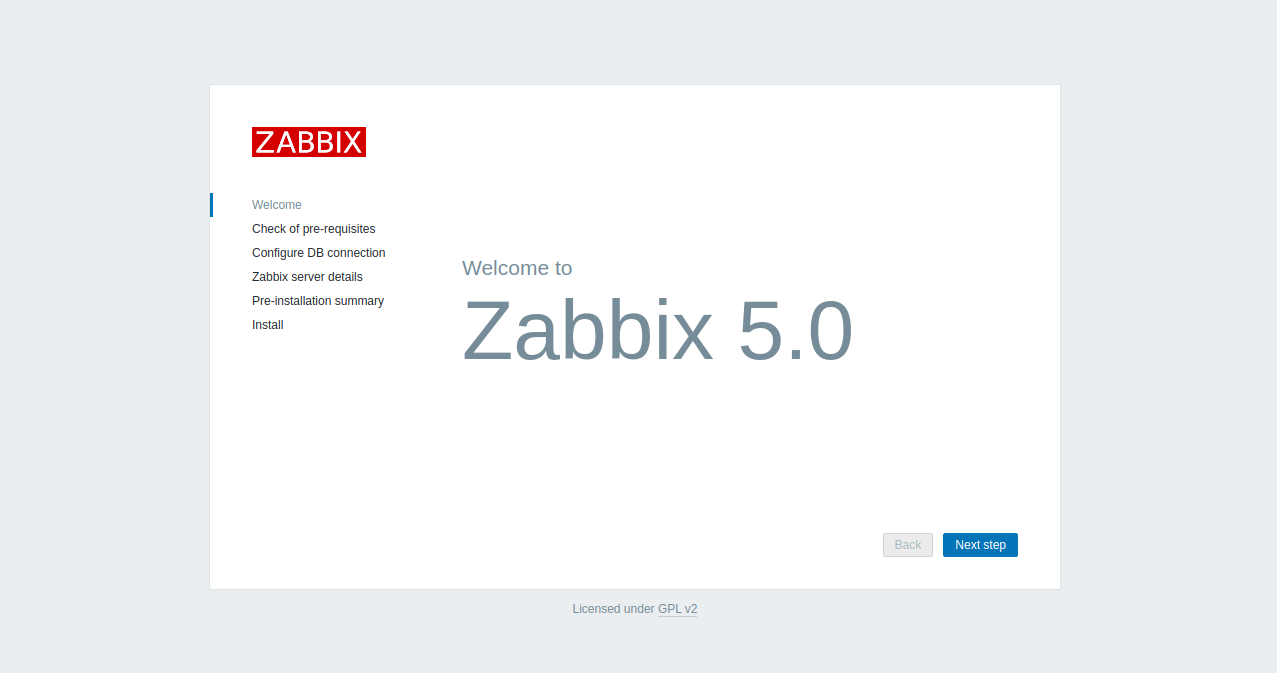
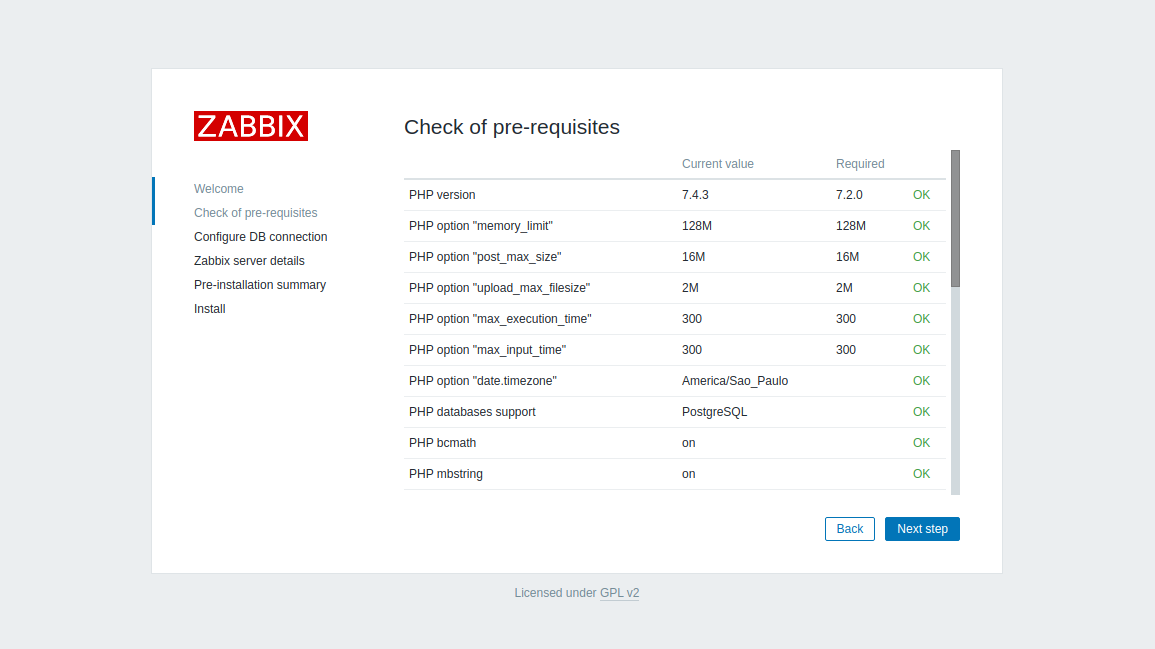
Now choose Next Step, and lets check pre-requisites:
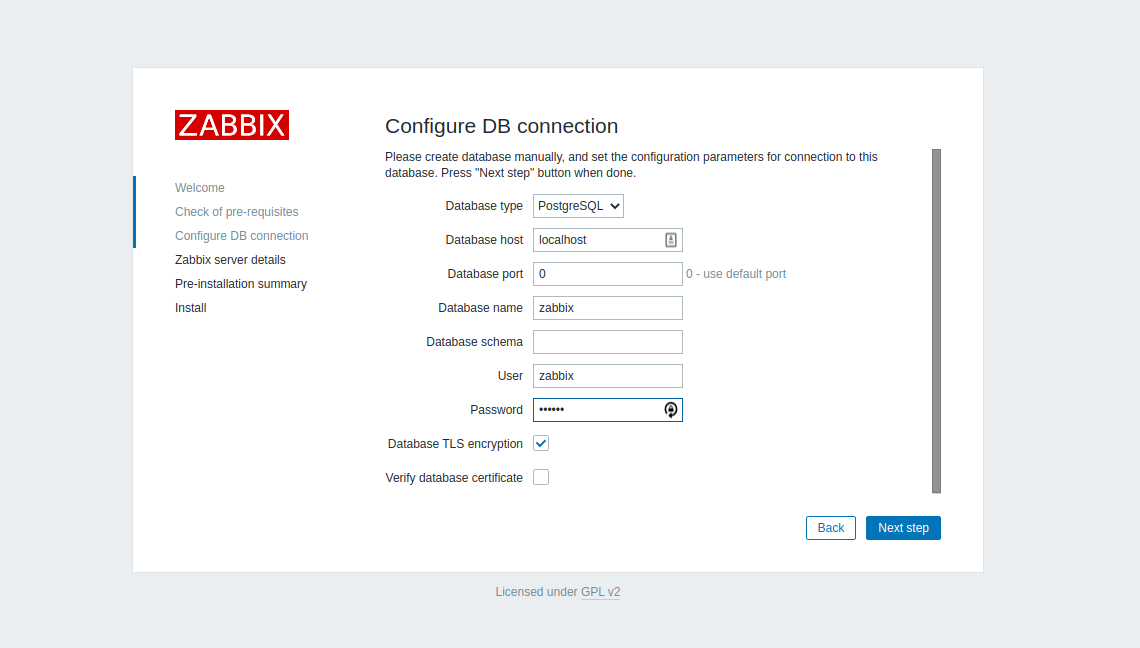
Configure DB Connection.
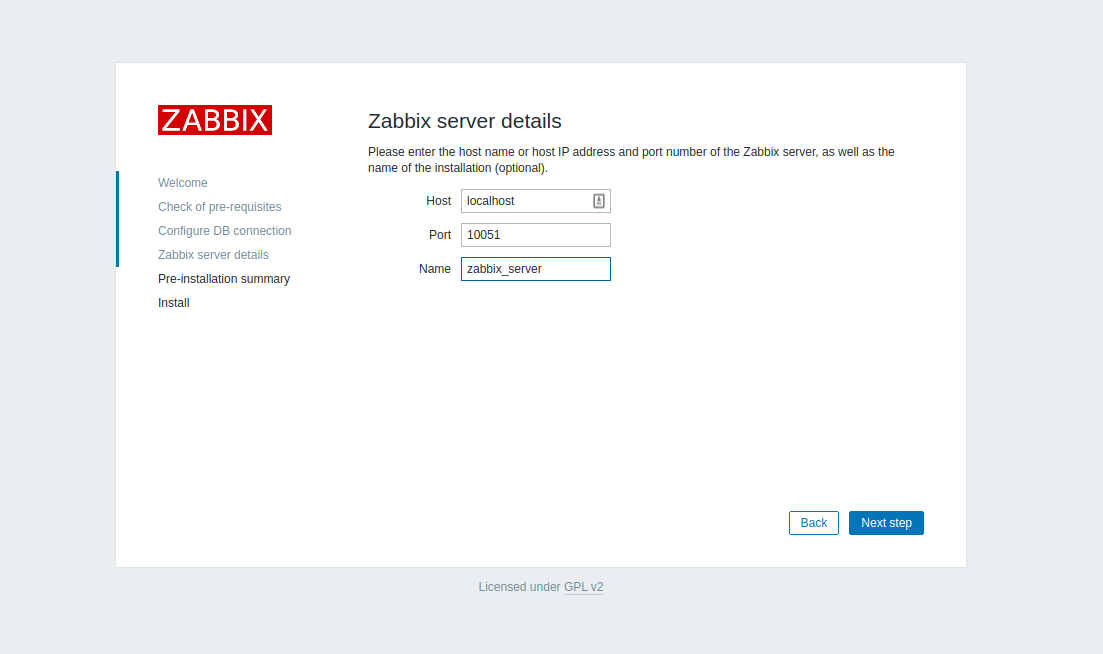
Give a name to zabbix Server.
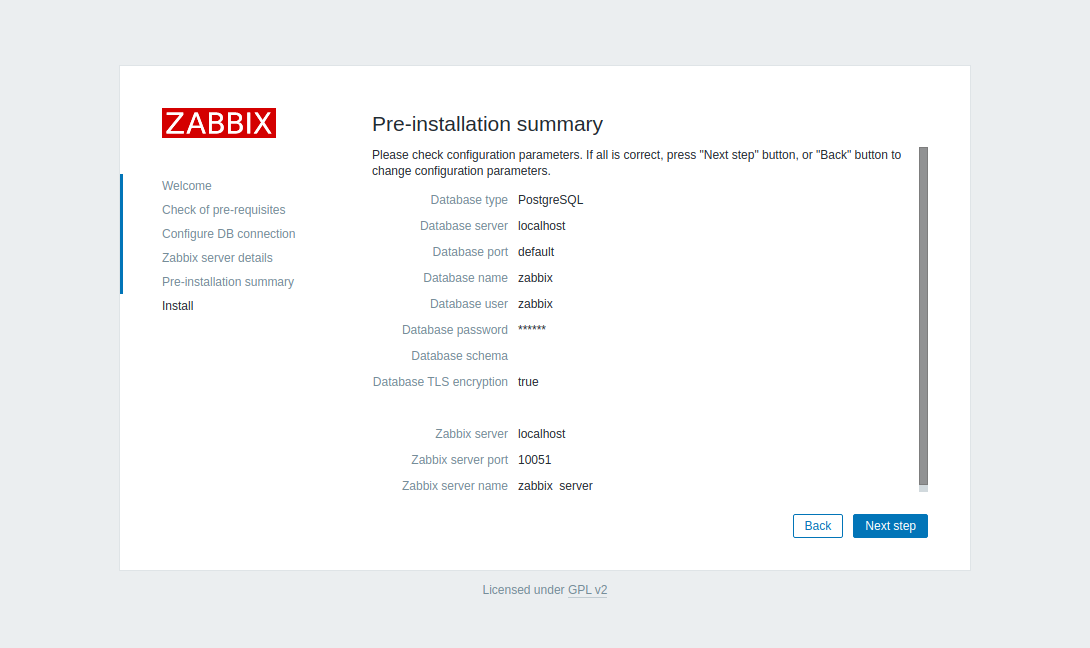
Next, review the installation.
Finish the installation wizard.

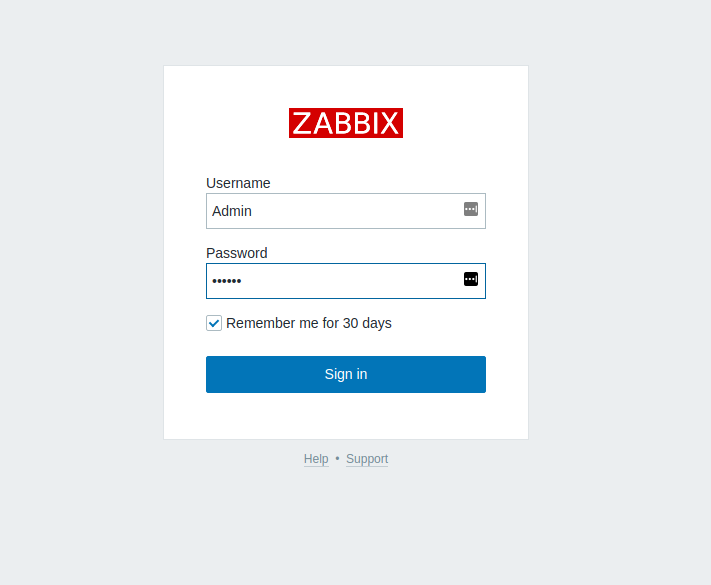
Now Login in zabbix with “Admin” and “zabbix”.
And its all for now,